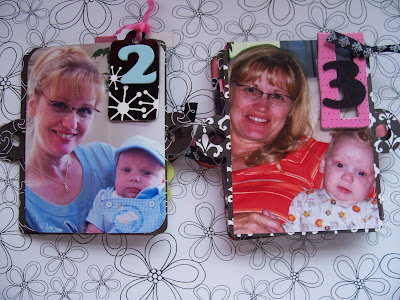
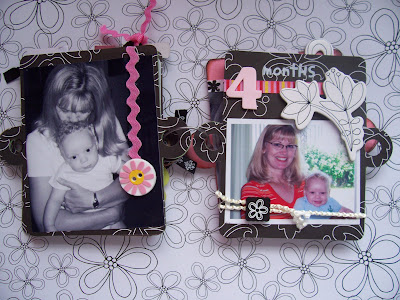
The one I made here is for my Mom, on each page is a picture of my oldest son and her. I labeled the pictures with a number that corresponded with the age of my son at that time.

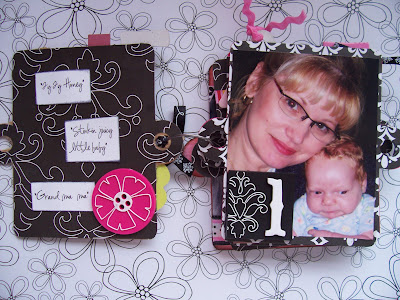
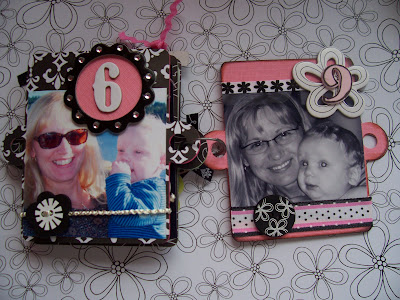 Supplies: PP, softie accents, chipboard shapes, B&W ribbon: KI Memories-Pop Culture; Numbers: Thickers; Cardstock: DCWV; other: ribbon, keyring, rhinestones, & thin cardboard.
Here are the instructions to make your very own mini album:
 Step 1:
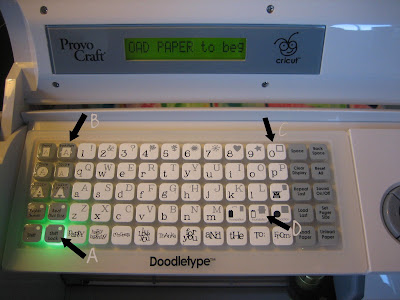
 Use B & C to make the front cover of your album
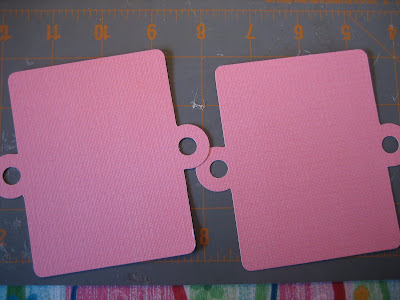
I used the square shape, but you can use any shape you want..The heart for Valentines, the Snowflake for Winter, etc. I took a thin piece of cardboard (the kind you get when you buy a calender or a pack of paper) This will be used to give the cover and the pages strength so they don't bend.
 Step 2:
 Use A and D to make your pages and the back of your album.
Step 3:
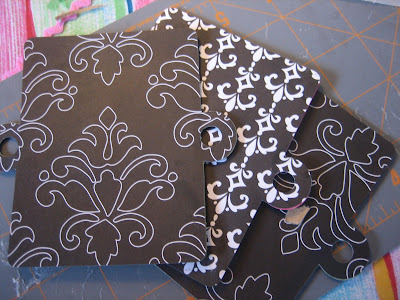
Apply the thin cardboard to your pages and front cover, gluing it between the two pages.
 Step 4:
Cover each page with PP and apply any embellishments you would like.
 Step 5:
Assemble your album and to hold mine together I used a link from my key chain and attached some coordinating ribbons.
This was a fun project and very easy! I would love to see any of yours that you complete, SHARE anytime!!! Have fun ladies!


 8 containers of American Crafts Embellisments
 CK All-In-One Scrapbooking Kit
 10 pkgs. of THICKERS
 One Heart One Mind Ribbon
  KI Memories Pop Culture Tag Lines
 Love Elsie Chipboard Albums
 Elsie Cardstock Stickers & Chip Buttons
 Elsie Rub-Ons & Chipboard Alpha
 KI Memories Softies
 KI Memories Tattoos
 Elsie Clear Stamps
 Elsie & KI Memories Ribbon
 See D's Stamps & Whispers Ink Pad
 American Crafts Transfer Tool & Memory Makers Rub-On Alpha
 American Crafts Mini Marks
 Elsie Chipboard Frames
 KI Memories Clear Monograms Stamps
 Elsie & KI Memories Pop Culture Patterned Paper
 KI Memories Pop Culture
  3 Packages of American Crafts Patterned Paper
 Bo Bunny Patterned Paper & Cardstock
 Far & Away Patterned Paper, Rub-Ons & Charms


 The
The